
Sourdough
How to Create a Sourdough Starter (Beginner-Friendly Guide)
How to Create a Sourdough Starter
(Beginner-Friendly Guide)
This post may contain affiliate links. If you make a purchase through these links, I may earn a small commission at no extra cost to you.
If you’re brand new to sourdough, WELCOME! You’re in the right place!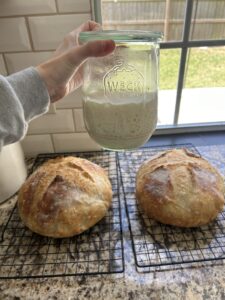
This beginner-friendly guide gives you step by step instructions to create a sourdough starter! Soon you’ll be well on your way to making your first Sourdough loaf!
A sourdough starter is a living, bubbly mixture of flour and water that has fermented using the yeast and friendly bacteria from the environment. Over time, as you continue to feed the starter, it becomes active and strong enough to naturally leaven bread!
This guide will walk you through creating your own starter from scratch!
What You’ll Need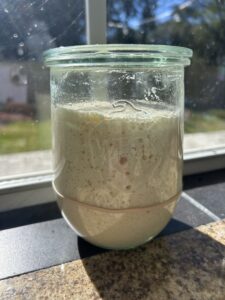
- Bread flour – this is my favorite!
- Filtered or bottled water
- A glass jar – this is my favorite!
- A spoon or spatula – I use this set!
- Patience
If you’re wondering what tools actually matter,
I put together a simple list of the sourdough tools I personally use and love.
SOURDOUGH TOOLS GUIDE
Day 1: Create Your Starter
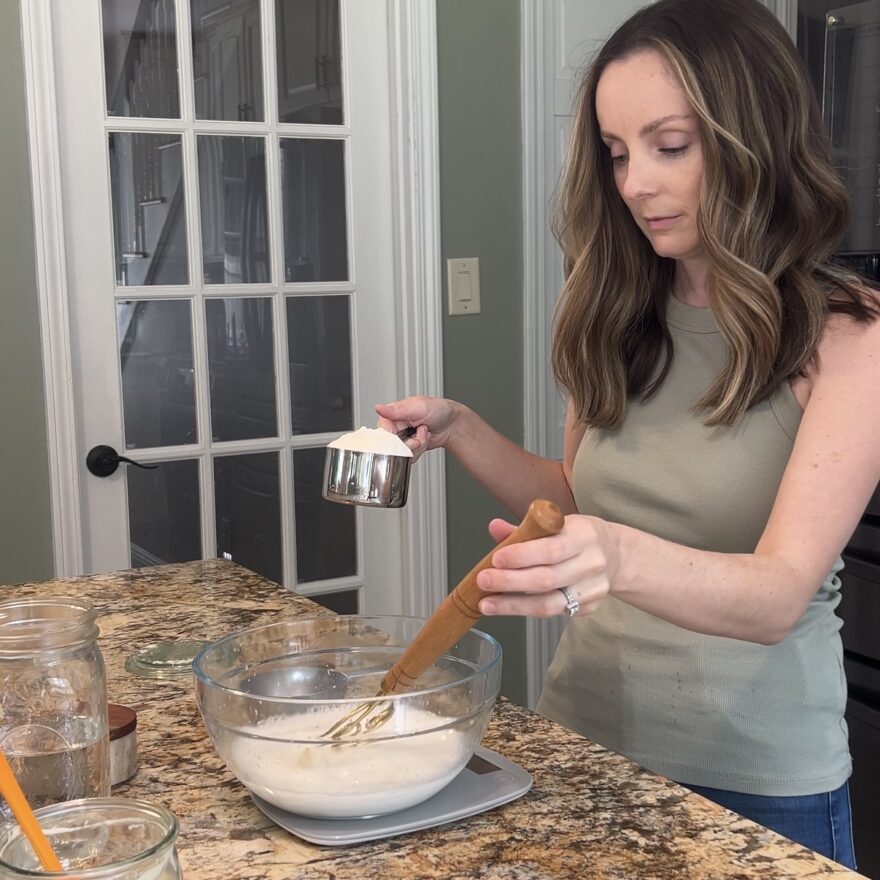
- In a clean jar, add ¼ cup water and ¼ cup bread flour.
- Stir until fully combined. The mixture should look like thick pancake batter. If needed, add a little water or flour to get the correct consistency.
- Loosely cover the jar (do not seal it airtight).
- Place the jar in a warm spot in your kitchen, ideally 70–75°F.
Day 2: Feed
- Check your starter. You may or may not see bubbles yet — both are normal.
- Discard about half of the starter.
- Feed: add ¼ cup water and ¼ cup bread flour.
- Stir, loosely cover, and return to a warm spot.
Days 3–5: Feed Daily
Each day:
- Discard about half of the starter.
- Feed: add ¼ cup water and ¼ cup bread flour.
- Stir, loosely cover, and return to a warm spot.
During these days, you may notice:
- bubbles starting to form
- a slight sour smell
- the starter slightly rising and falling
All of this is normal! That means you’re on the right track!
Days 6–14: Watch for Strength
Continue each day:
- Discard about half of the starter.
- Feed: add ¼ cup water and ¼ cup bread flour.
- Stir, loosely cover, and return to a warm spot.
Your starter is getting stronger each day, as wild yeast multiplies.
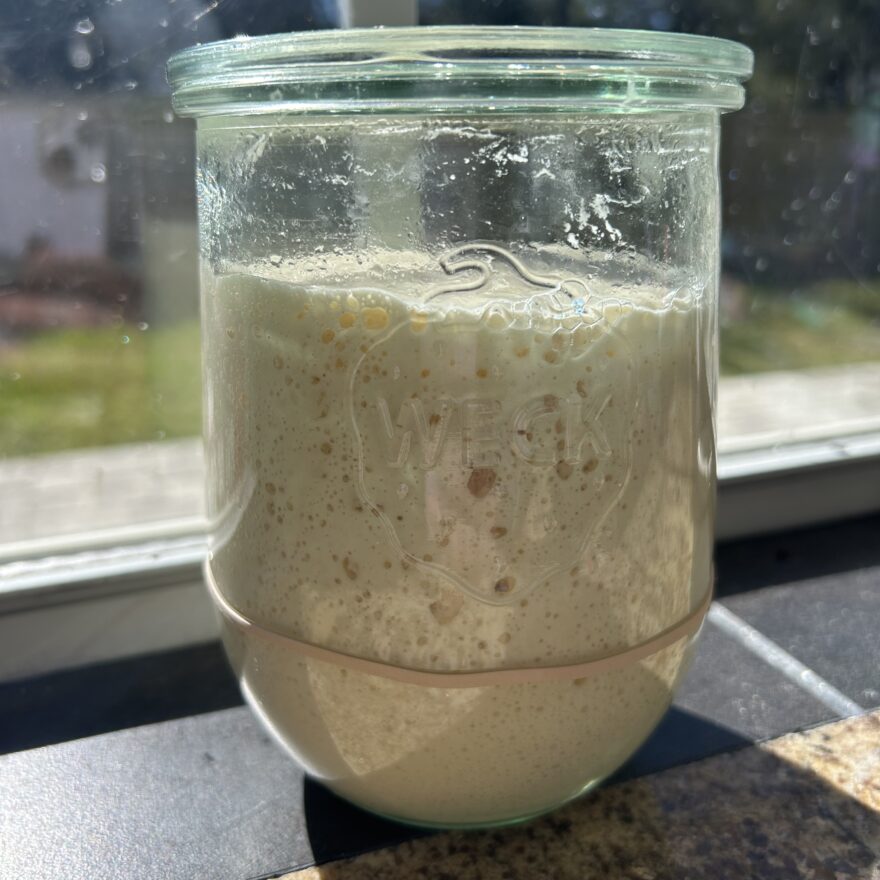
A healthy, active starter will:
- double in size within 6-8 hours after feeding
- have lots of bubbles throughout
- smell pleasantly tangy, sour (not rotten or moldy)
If your starter is slow, don’t panic. Some starters take 7–14 days or even more to become fully active, especially in cooler kitchens.
Days 14+: Continue watching for strength
Continue each day:
- Discard about half of the starter.
- Feed: add ¼ cup water and ¼ cup bread flour.
- Stir, loosely cover, and return to a warm spot.
Your starter may be ready to bake with at this point. Some starters may take longer though! If so, just be patient and give it a little more time!
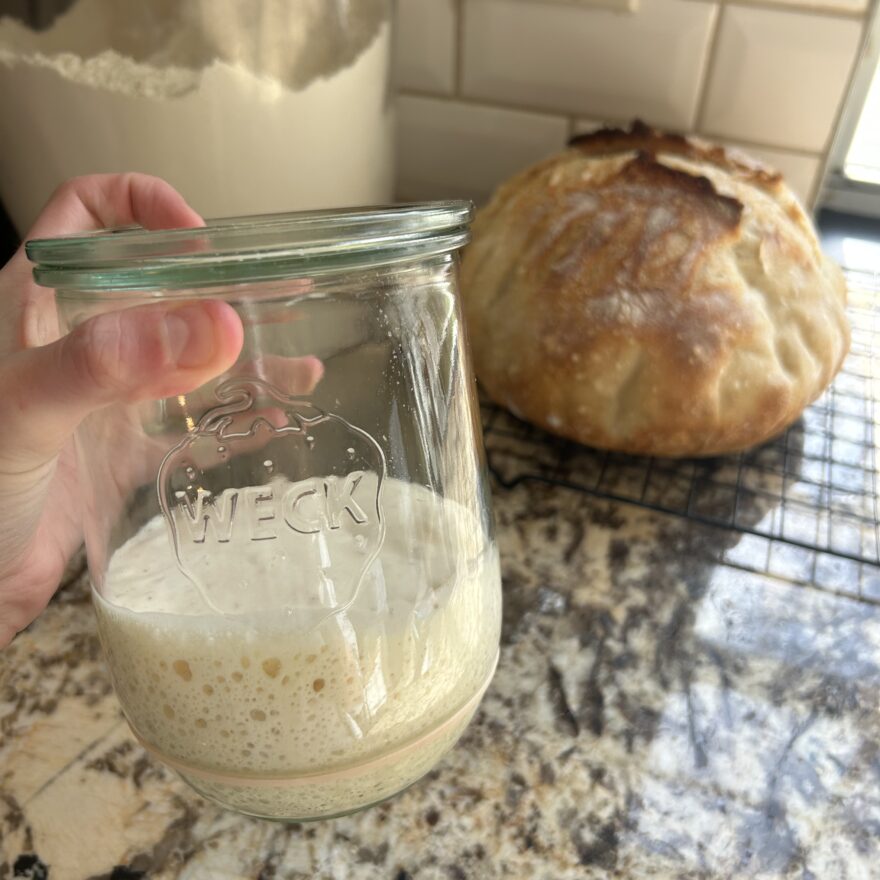
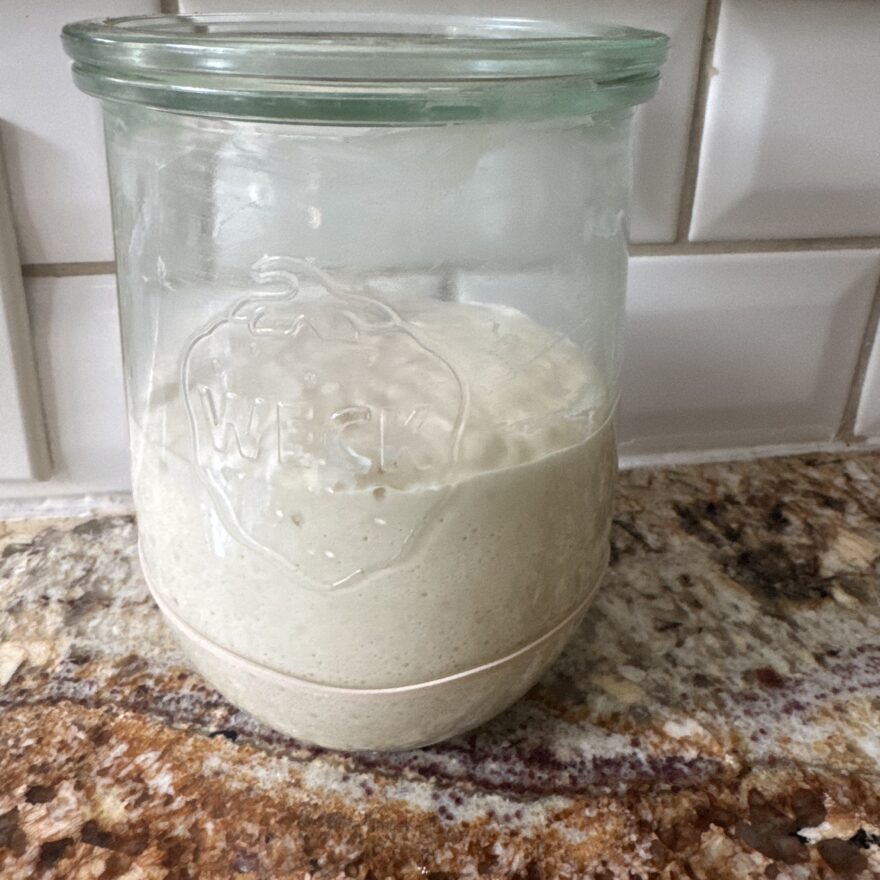
How to Know When Your Starter Is Ready
Your starter is ready to bake with when:
- it consistently doubles in size after feeding
- it looks bubbly and airy
- it has a domed or slightly collapsed top at peak
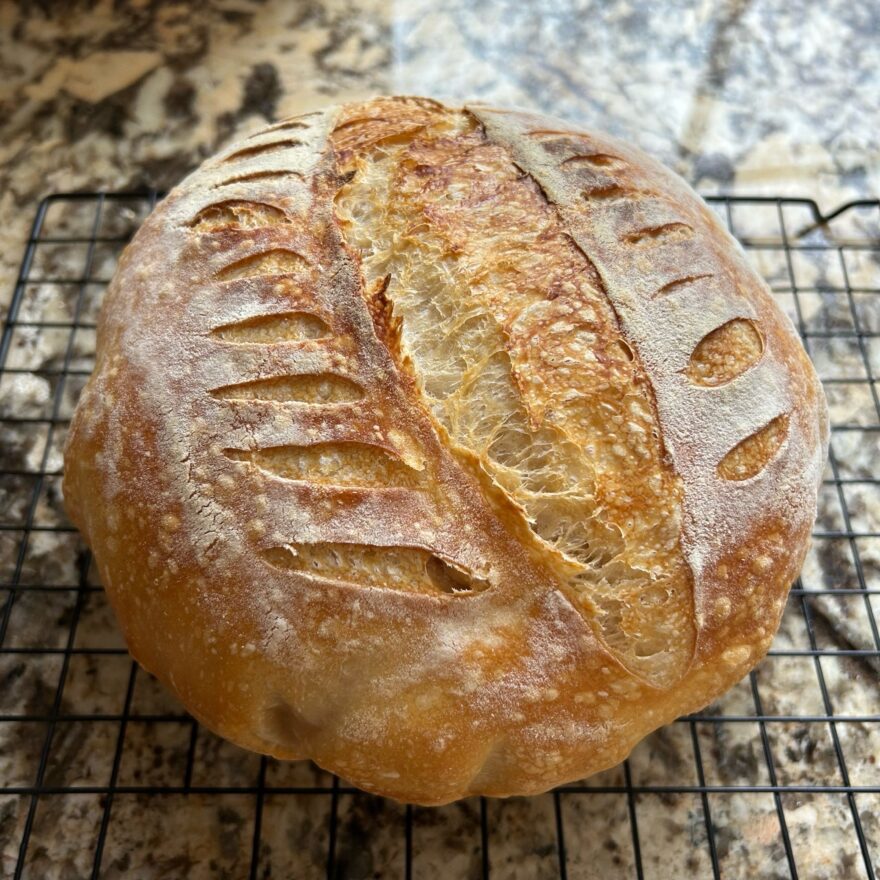
This “peak” is the best time to use your starter for baking!
When your starter is ready, use my
Beginner Sourdough Bread Recipe & Guide
to make your first loaf!
If you’re wondering what tools actually matter,
I put together a simple list of the sourdough tools I personally use and love.
SOURDOUGH TOOLS GUIDE
Common Questions:
What flour should I use?
You can use all-purpose flour, but bread flour works the best. This is my favorite flour!
What if my starter smells bad?
A strong sour or vinegary smell is normal. If you see mold (commonly pink, grey, green, or red in color) or anything fuzzy dump it all out and start over.
Do I have to discard?
Yes! You have to get rid of at least half every time. When the starter is strong and established, you will be able to use the discard for certain recipes.
My starter isn’t bubbling. What should I do?
Be patient! Make sure it’s warm enough and give it more time. Consistency matters more than speed.
Storing and Maintaining Your Established Starter
Once active and strong:
- Keep it at room temperature if baking frequently
- Store in the fridge if baking occasionally
- Feed weekly when refrigerated
Troubleshooting Common Starter Issues
My starter isn’t bubbling at all
This is usually a temperature issue. Sourdough starter thrives in warmth. Try moving it to a warmer spot in your kitchen (around 70–75°F). Keep feeding consistently and give it more time — some starters just take a little more time.
My starter smells very sour or like vinegar
This is normal and usually means your starter is hungry. Feed it more regularly or slightly increase the amount of flour at each feeding. A sour smell alone is not a bad sign.
There’s a weird liquid on top of my starter
That liquid is called hooch and means your starter needs to be fed. If it is mostly clear, you can pour it off or stir it back in before feeding — either option is fine. If it has a darker color, I prefer to dump and start over.
My starter was really active, then suddenly stopped
This can happen throughout the process. Keep feeding daily or you can also feed twice a day if needed. But don’t give up — activity will return as the starter matures.
My starter might have mold
If you see fuzzy growth or colors like green, black, or pink, dump out all of the starter and start over. Unfortunately, that means it’s no longer safe to use.
My starter isn’t doubling in size yet
That’s okay! Many starters take 14 days or more to become strong enough to double consistently. Focus on regular feedings, warmth, and patience!

A Little Note of Encouragement From Me
Starting sourdough can feel intimidating, but getting started is the first step!
Every starter is different, and there is no “perfect” timeline.
Be patient. Trust the process. And remember — you are on your way to creating your first Sourdough loaf!
You got this!
I hope this guide has helped you feel confident in creating your starter!
Have questions or need help? Let me know!! I’m here to help!
The best way to reach me is to find me on Instagram or send me an email!
When your starter is ready, use my
Beginner Sourdough Bread Recipe & Guide
to make your first loaf!
Thanks for being here 🫶🏻
I’m Taylor — I share simple, cozy recipes made for the people you love.
If you enjoyed this recipe, you might also love:
My other recipes
My family favorites meal plan
👉 Join my email list here!
You can also follow along here:
Instagram
Facebook
Pinterest
happy cozy cooking,
♡ taylor
My Must-Have Sourdough Tools for Stress-Free Baking
Ready to bake your first loaf, but unsure what tools you actually need? This simple, no-fluff guide walks you through the exact items I use in my kitchen so you can skip the overwhelm and start baking with confidence.
